The combines all of the common features with bolt or base bound, select coupling option and adds advanced features found in the most capable shaft alignment systems such as machine train, live move mode in any angle and many points mode or uninterrupted measurement method depending on user goals
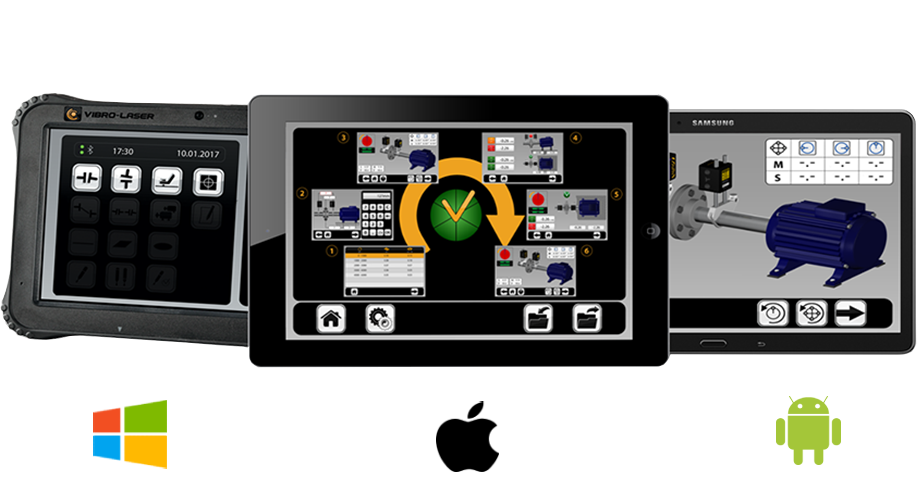
VLSAT is available on
1
Select tolerances or enter your tolerance values. Select coupling type (machine).
2
Insert the dimensions. Select which pairs of feet are locked.
3
Take a measurement by turning the sensors.
4
Measurement results. Save the results by tapping the diskette icon
5
Live aligning in any angle position of the measuring units.
6
Save report.Select photo or logo.
A brand-new step by step, intuitive interface with 3D animation simplifies the operator's work and reduces time spent on alignment. A unique memory management system allows you to save progress at any stage of the process and resume whenever you want
The measured values are automatically recorded during shaft rotation. With hundreds of points registered SmartSpin™ provides the greatest possible repeatability of measurements. You can start measuring at any shaft position.
Take measurements at any three positions of the shaft rotation. Turn shafts in any direction at least by 20 degrees and register the results. This mode is extremely helpful when the clock method is off limits.
Adjust machine feet beforehand for better results. Soft foot check option is designed specically for this job. The program analyzes the position of machine feet, indicates if any of them need adjustment, and saves all values for the further work.
This option allows you to specify the coupling type used for shaft connection – i.e., short flex or spacer shaft.
Specify the alignment tolerance and user definnable tolerances in advance according to the machine rotation speed.
VibeDr filters vibration related influences that can negatively impact precision alignment thus insuring the machines in the same proximity do not adversely effect your alignment job.
Save Job Feature - Allows user save alignment job status at any time and return to the job at a later time
Automatic compensation system for the thermal growth expansion of machines allows to keep the effciency of alignment in any environment.
Allows live aligning in any angle position of the measuring units. When it is not possible to install the measuring units strictly in the 9–12–3 hours position.
Allows choose any from the last 10 measurements that you have taken based on which further actions will be carried out
The 9-12-3 o'clock method is the basic method for taking measurements. It requires a clear set of units at the 9, 12 and 3 o'clock positions.
This multipoint method allows you to record an unlimited number of points at any sector of the shaft circumference. It is perfect for centering turbines and machines with sleeve bearings..
Measure and align vertical and flange machines with a program specially created for this purpose.
Get any pair of feet locked on the machine. Enabling this option will ensure precise results when aligning base-bound or bolt-bound machines.
Enable this option and align shafts of up to five machines that are connected together
Keep the alignment precise under any circumstances. The averaging filter reduced the influence of external visual challenges such as lighting, steam, and other visually impairing variables while taking measurements.
Monitor the data coming directly from the measuring units on the screen of your device.
Save alignment reports in PDF, add photos of the unit, the company logo and work notes when necessary
Simplify the measurements by selecting the machine location relative to an operator.
Allows user simulate changes in alignment results with virtual movement of the machine in horizontal and vertical planes.
When it’s necessary to change the position of the laser units or change the position of the laser on the detector during the measurement, you have to use feature the Smart Shift™
| Bluetooth | 4.0 |
| Distance Between Units | up to 10 m (33 ft) |
| Laser Emission | diode laser with wavelength 635nm, class II, < 1 mW |
| Dimensions | 90mm x 60mm x 32mm (3.5 in x 2.3 in x 1.2 in) |
| Detector Receiver Length | 30 mm (1.2 in) |
| Detector Resolution | 0.001 mm |
| Protection Class | IP67 (Dust-tight and protected against water) |
| Measurement Accuracy | 0.3% ± 7um |
| Operating Temperature | from -10 º С to +55 º С (14 to 122°F) |
| Operating Time | up to 20 hours |
| Detector Type | latest generation of industrial linear detector |
| Ex Certification (option) | EACEx in accordance with Customs Union Technical Regulation TP TC 012/2011. Harmonized with UL as per https://www.ul.com/services/eurasian-conformity-eac-ex-certification |
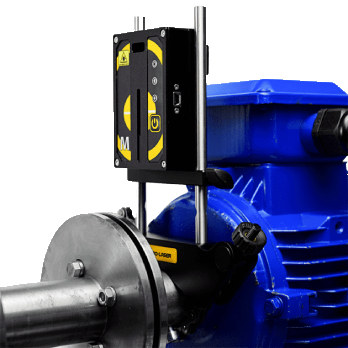
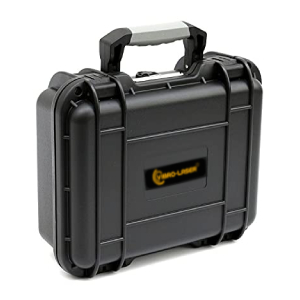
Hard Case
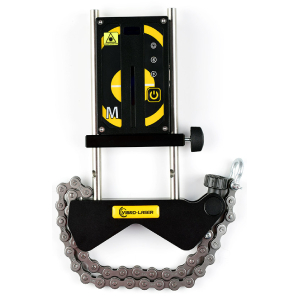
Measuring Unit M
Standart V-bracket

10 inch Android Tablet
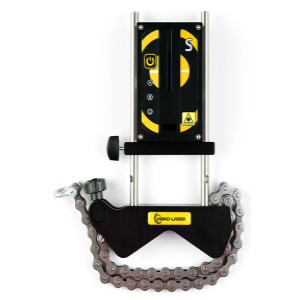
Measuring Unit S
Standart V-bracket
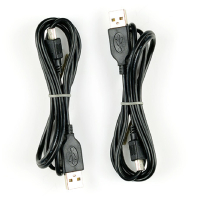
Cable USB 2.0
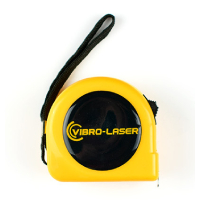
Measuring Tape
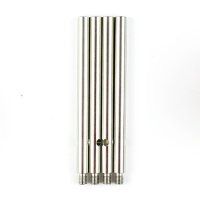
Extention rods 120mm
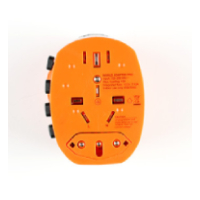
International adapter
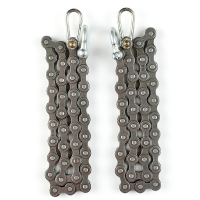
Extention chains